Adobe Illustrator is a 2D design program. Unlike many similar programs, Illustrator is vector-based, as opposed to raster-based. This means that what you make in Illustrator can be blown up as much as you need without losing detail. Vector programs essentially create instructions for creating an image rather than creating the image itself, so the image doesn't look all pixelated when you zoom in. This makes it useful for, say, company logos that need to be enlarged, or in this case, the design on a key chain, which is to be cut out and engraved with a laser.

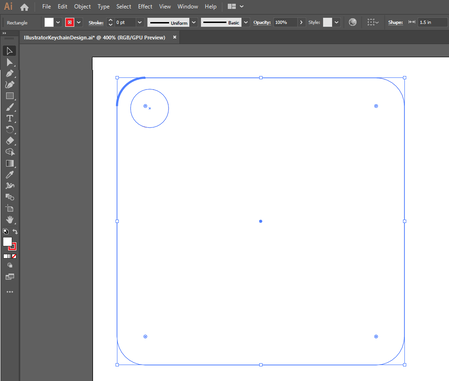
To make the design in Illustrator, there are basically three parts: the outline, the design, and the text. For the outline, we simply drew a rectangle—1.5 by 1.5 inches, in this case—and rounded off the corners. For the hole, a circle with a diameter of 0.2 inches was added to the corner. As for the weight and stroke color, the outline and hole should be 0.0001 pt (it will display as 0) and have the color of CMYK Red, as this will tell the laser cutter to completely cut it out.
|
|

|
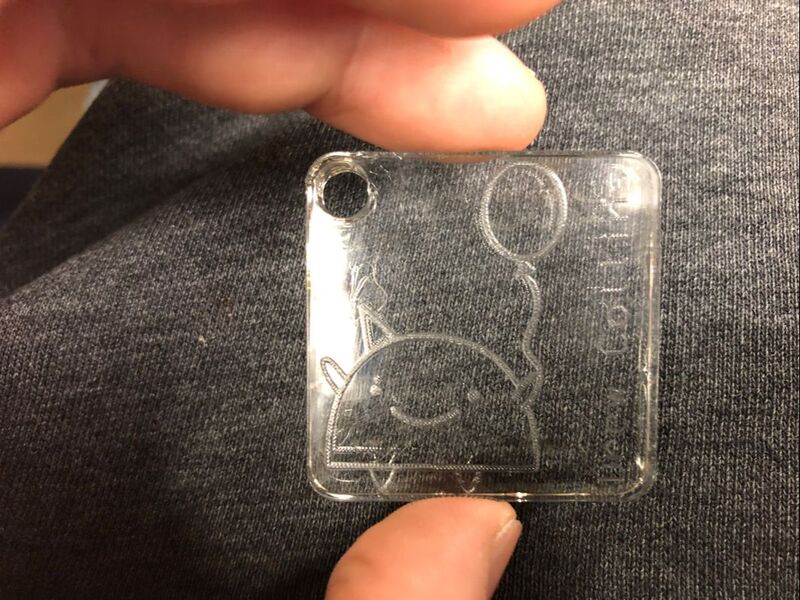
Next comes the picture. The easiest way to add one is to go to Google Images and search for a large black and white image with a simple design. Copy it and paste it into Illustrator and click "Image Trace" and select the black and white option. Fit it to where you want it on the key chain.
If you want text, use the text tool to type it in. Remember to click the "Create Outlines" button to make it a vector. The color for the text and image should be CMYK Black for engraving. |
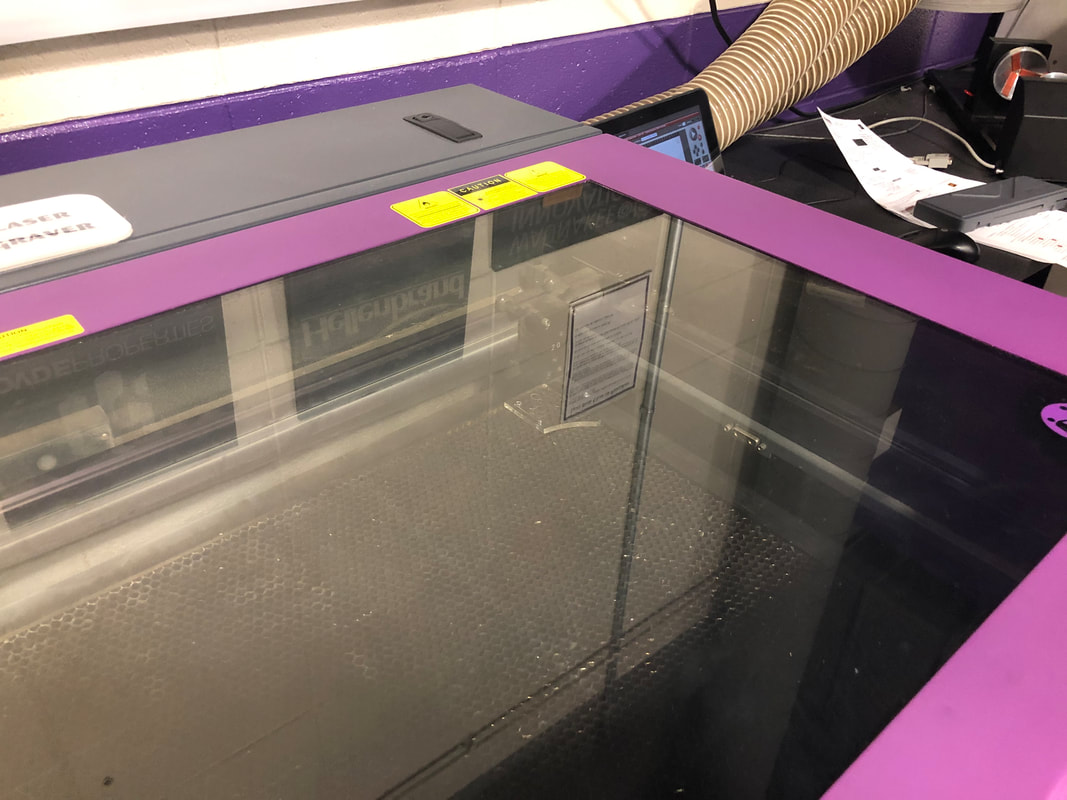
After that, what we did in class was put the file in a flash drive and bring it over to a computer plugged into the laser cutter. We opened it in Illustrator and selected "Print." After selecting a large enough piece of acrylic, we measured the thickness with a digital caliper and put the size in the interface and selected the material. When we placed the acrylic in the corner of the laser cutter's work space and shutting the cover, we used the Universal Control Panel to turn on the cutter and move the laser to the top left corner of the acrylic. Then, more the key chain design to that spot and verify that the acrylic is big enough by moving it to the edges of the design in the UCP and verifying that it doesn't go beyond the acrylic. At last, you can hit go and let the laser cutter do its work.
|
|
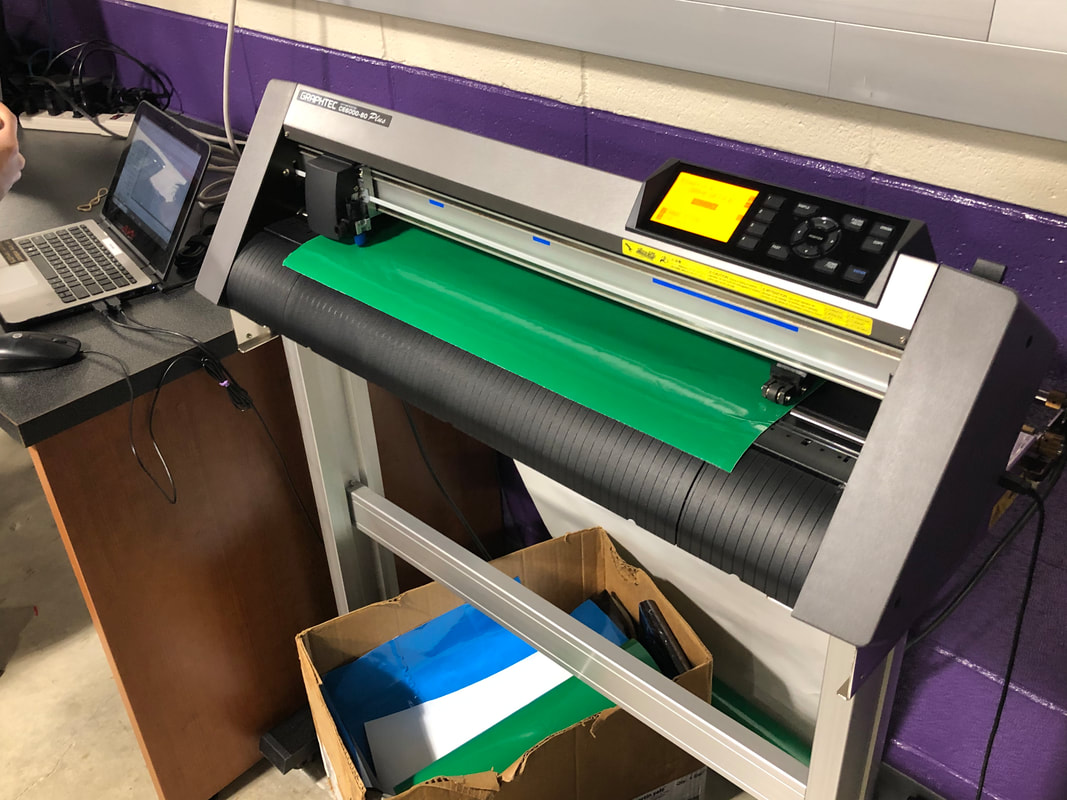
Another use for Illustrator established in class was cutting out vinyl decals. Using Illustrator, our instructor created a design for the vinyl cutter. A sheet of vinyl is loaded into the cutter from the back and pressed down under one of the blue markers before the cutting begins.
|
|
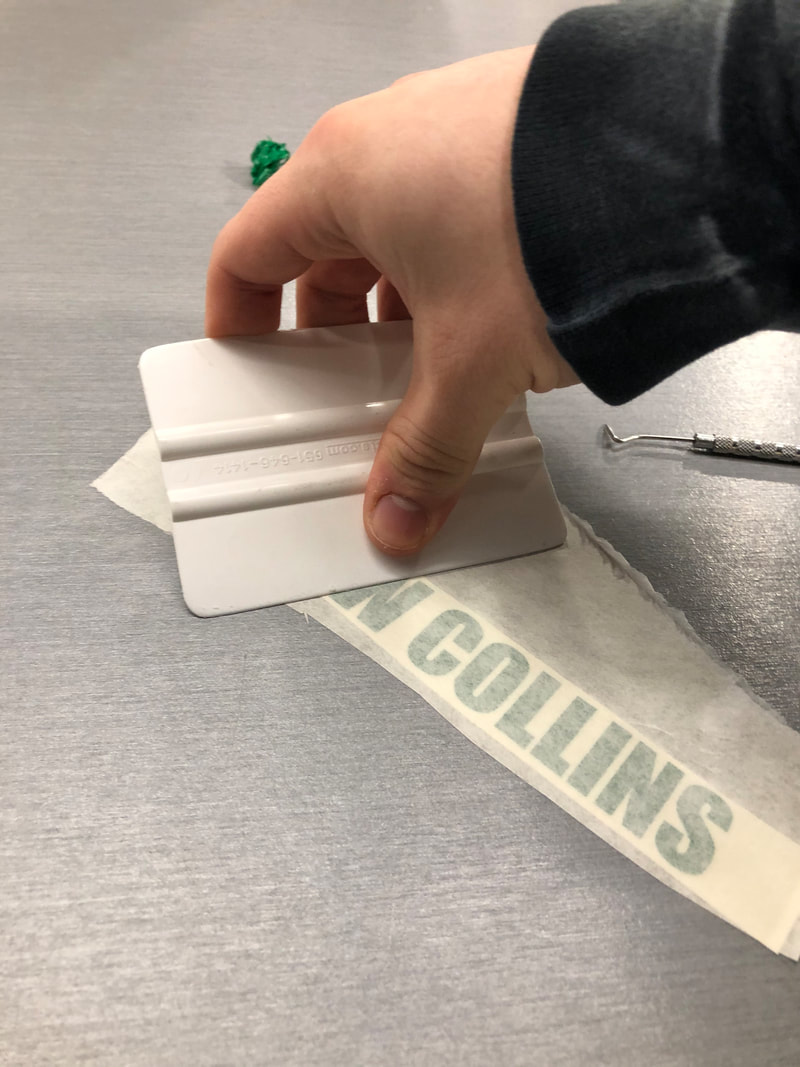
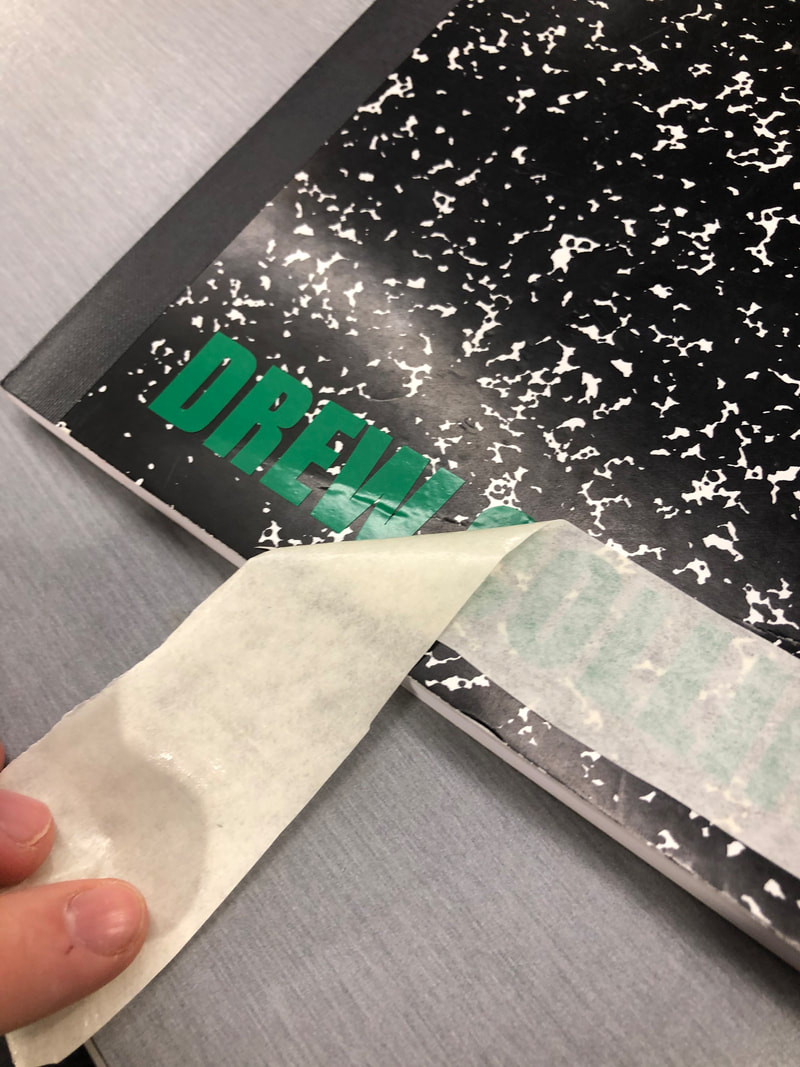
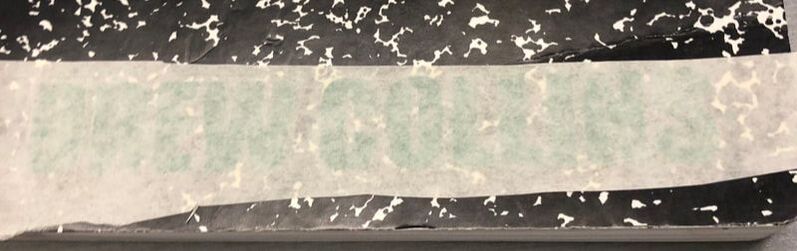
Once you have the excess vinyl removed, place a strip of transfer tape over it to get the vinyl onto it. It might be a good idea to use something like this squeegee to press it down using large, firm strokes to make sure it all transfers. When taking the original backing off, you should probably use something to keep the vinyl firmly attached to the tape.
|
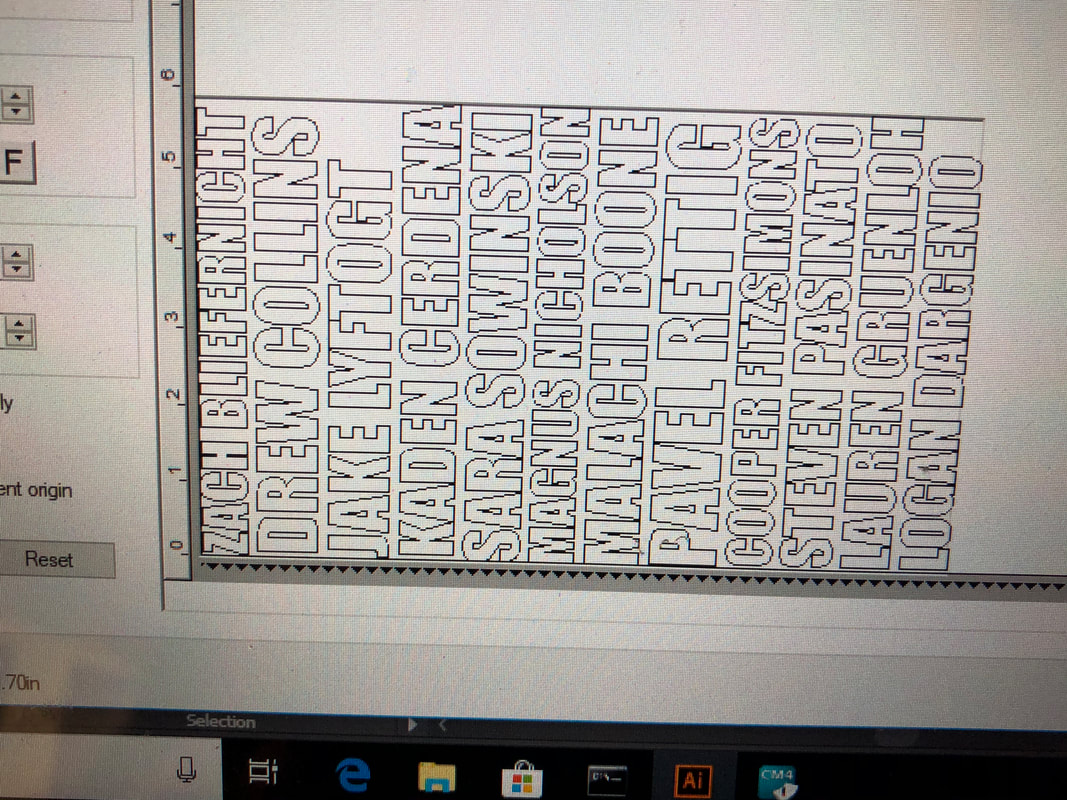
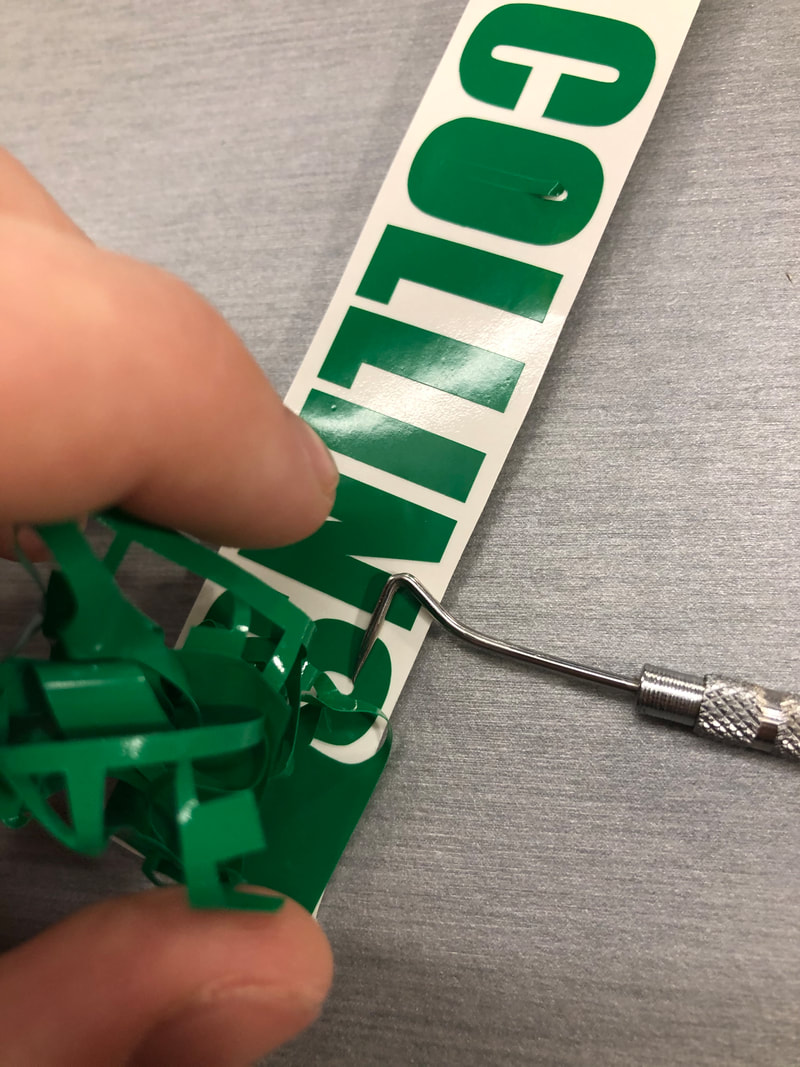
Once the pattern—a name, in this case—is cut out, carefully use a tool like this dental pick to remove the vinyl that you do not want on your final design; we just want the letters, not the space in between or inside of them. It might be best to start at one edge and to press down the letters or other patterns you want to keep as you pull away the unwanted vinyl.
|
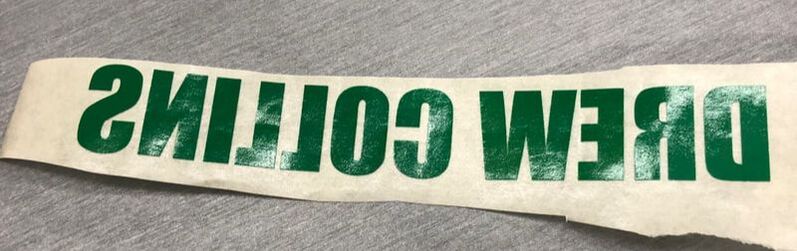
You should be left with a reverse image of what you want. Firmly squeegee this onto the surface you want to customize and slowly pull the tape off. For the smoothest experience, that is, least likely to unintentionally take off a letter, pull it off horizontally from the surface at a more or less 90° angle from the decal. You may still need to hold the decal down.
|

|
Throughout this demonstration of the capabilities of Adobe Illustrator, I learned how to make basic designs in the program. Most of it was simple things, from creating the shapes to making vectors of images and text. Vector-based design is a great system as you are using it because you don't have to worry about losing information as well as the fact that it results in a better-quality end product. Beyond that, I learned how to make those designs into tangible things, from an actual key chain that I can use to a more interesting way of identifying my belongings. For that, I learned how to use the Universal laser cutter for simple cutouts and the vinyl cutter for decals.
