There are three things that students have to create for the laser rotation: The cover for a notebook, an engraving for a water bottle, and a 3D object assembled from pieces cut out with the laser.
In order to make the notebook cover, use Illustrator to create two rectangles of the size of the paper you're using. In this case, it's 4.25 by 5.5 inches, or half the length and width of a standard 8.5 by 11 inch piece of paper. On that, put the desired designs: CMYK black for engraving and 0.0001 p CMYK red to cut it out fully, which includes the edges.
For the size of the bottles we used, the design should be 5 inches tall and 1/2 inch shorter than the circumference (about 8.5 inches) wide at most. It should be CMYK black to be engraved and rotated 270 degrees, so the "bottom" is along the left-hand side of the screen. After fitting it in the the rotary jig, select the material of anodized aluminum in the UCP, and use the relocation tool to move the design to the center of the bottle, and make sure that the fan is on before hitting print.
For the 3D object, perhaps the simplest way to get a design is to go on a website like thingiverse.com and find a model made to be cut out and assembled, with some fitting together and others being layers of a final item. I found a nice model of a fruit bowl. Since the cardboard I was using was thinner than the wood it was meant for, I scaled the image of the individual pieces down in Illustrator so the notches that the pieces use to connect were the same thickness of the cardboard, and I made sure that the vector was 0.0001 p CMYK red, as I was cutting it out. As for the material, I selected foam core. After that, it was fairly easy to assemble.
Here is where I would put my screenshots if I had access to my H: drive :(
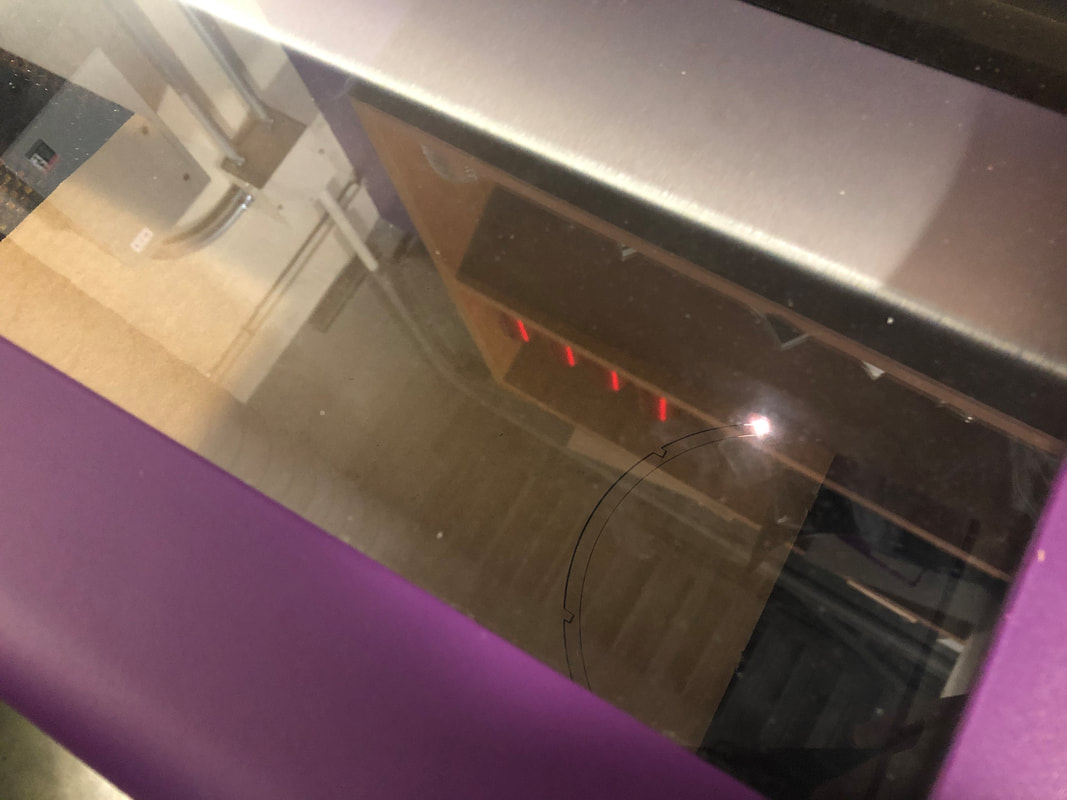
The notebook cover being cut out
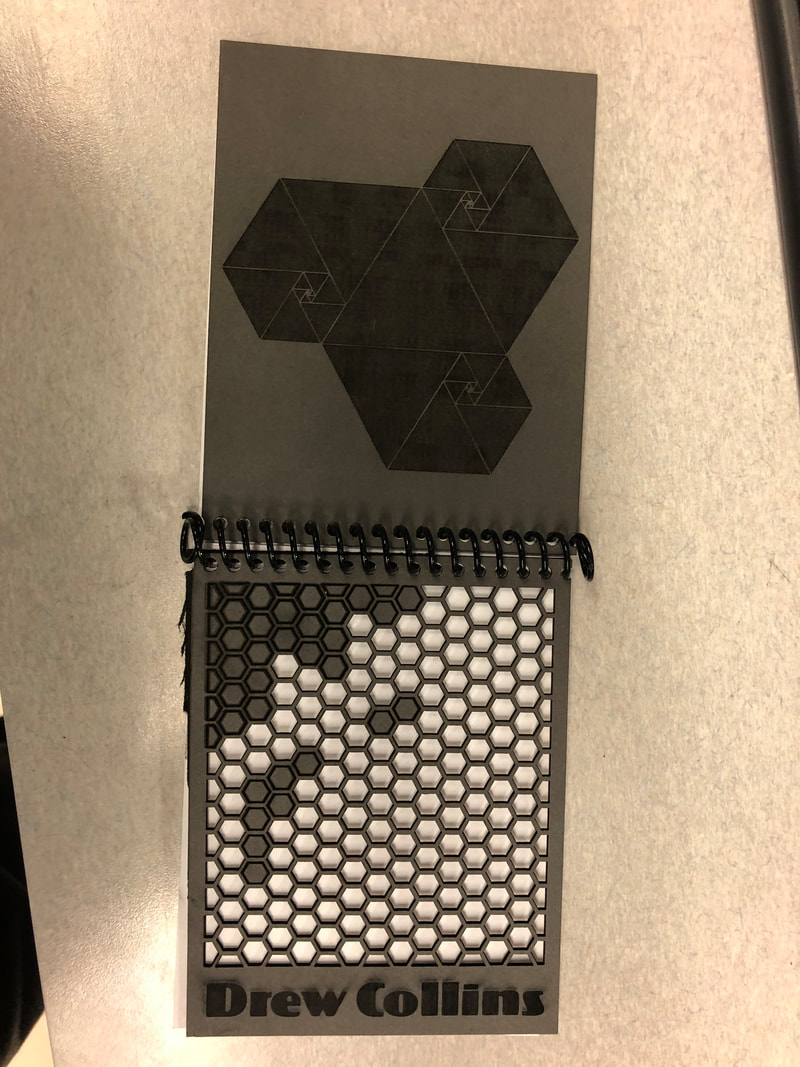
The notebook assembled
The bowl being cut out
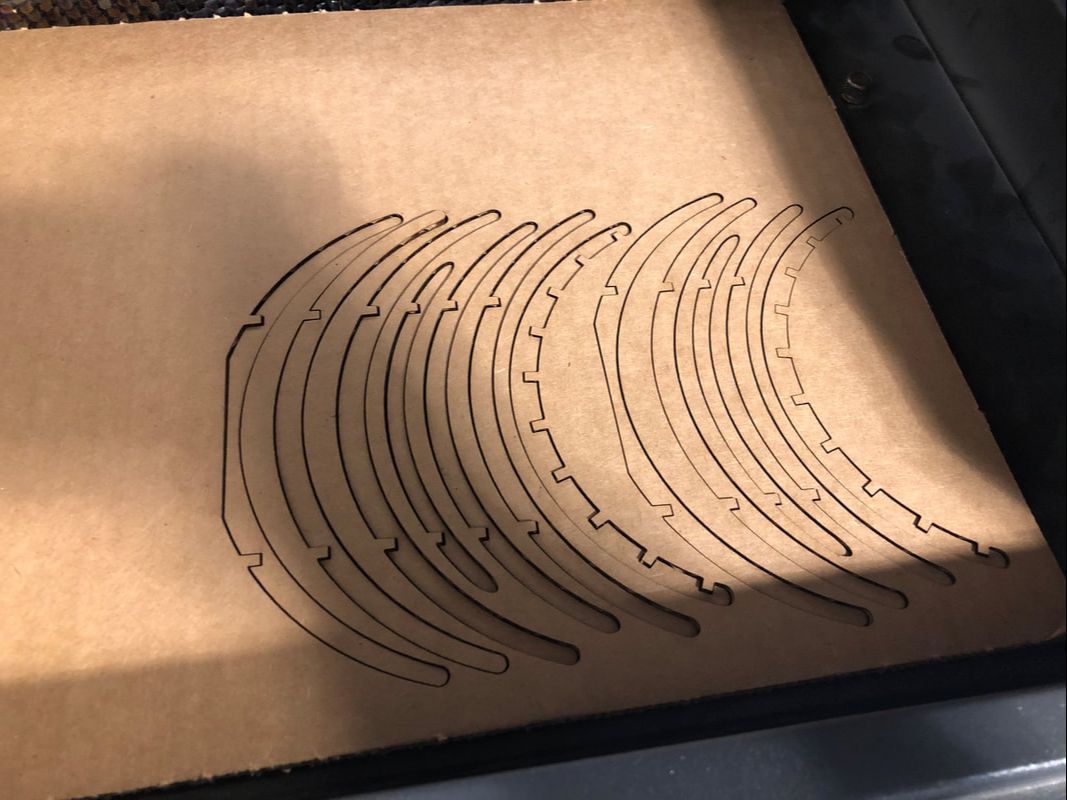
The bowl's parts cut out

The bowl assembled
|
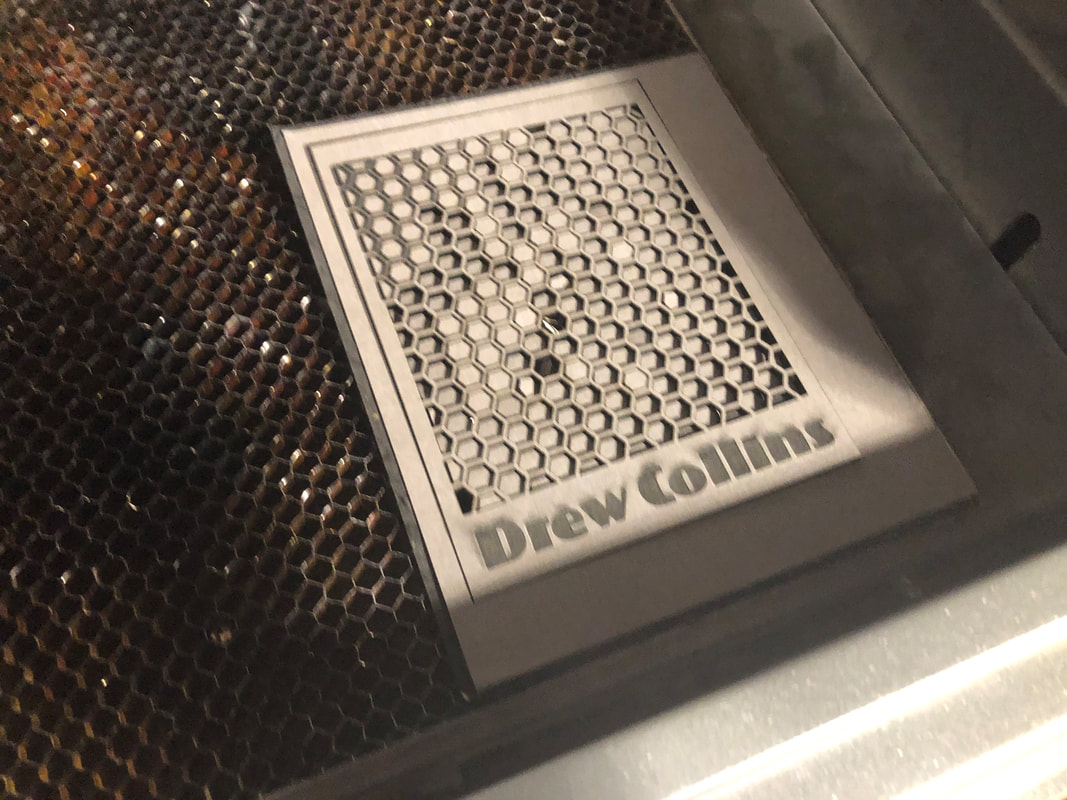
One part of the notebook cover cut out
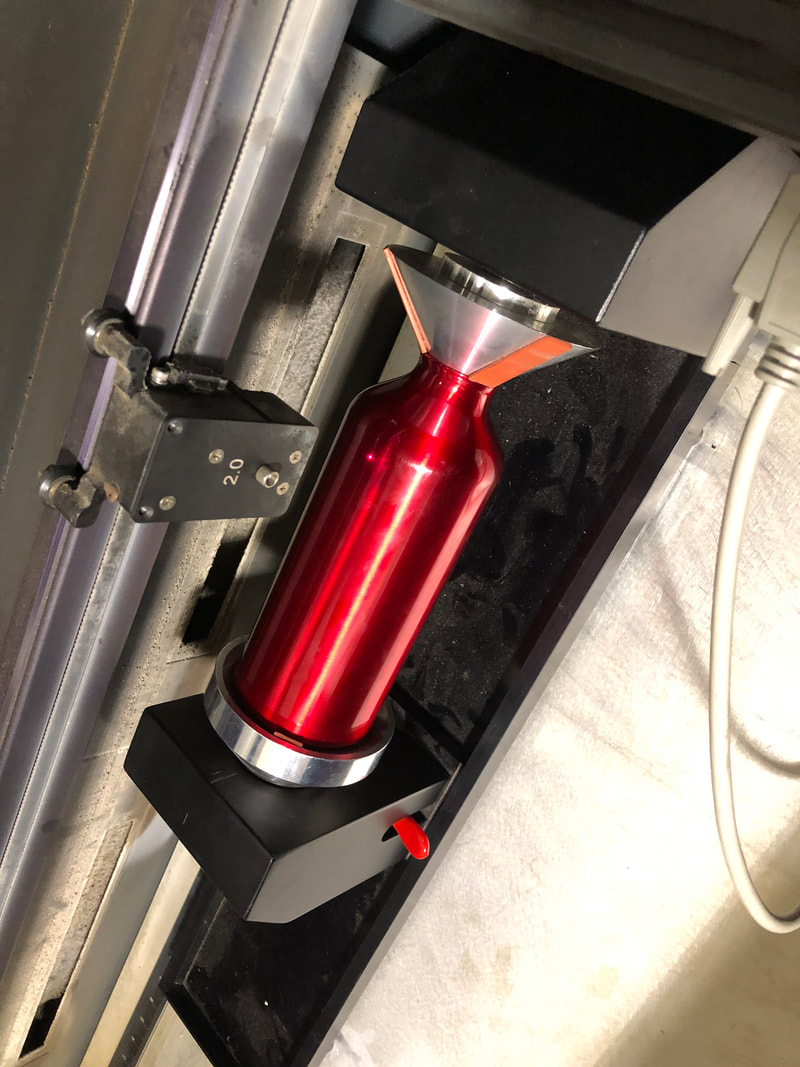
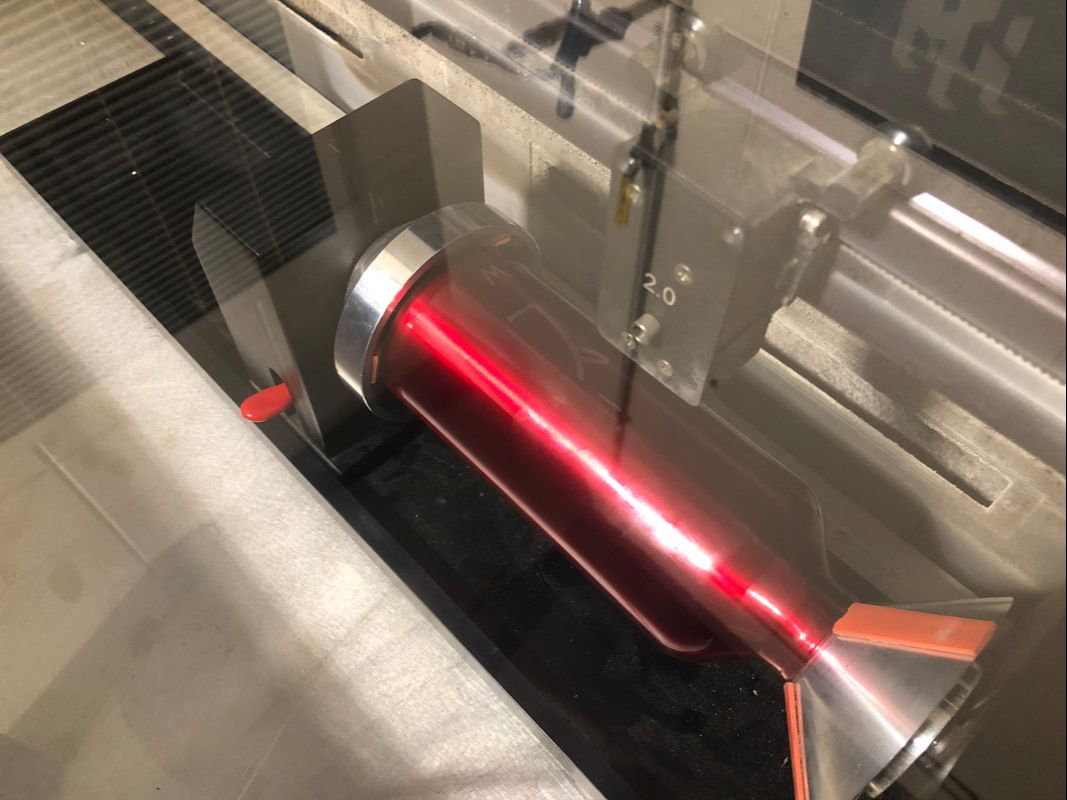
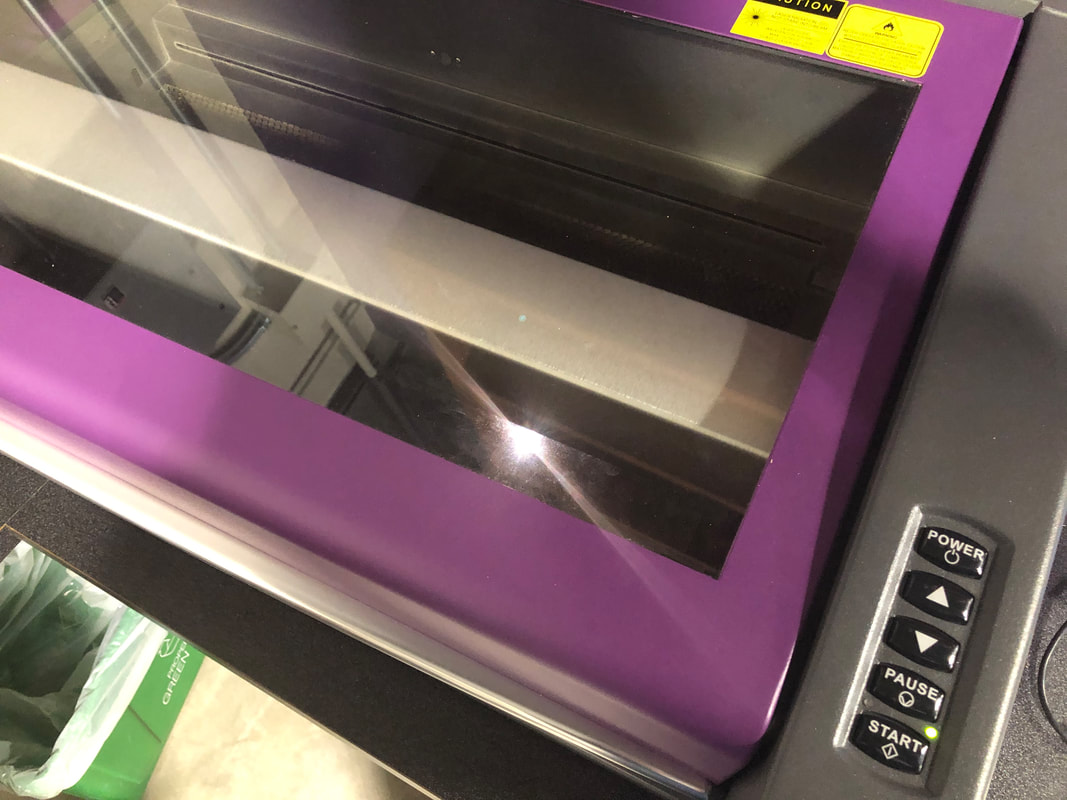
The bottle in place being engraved
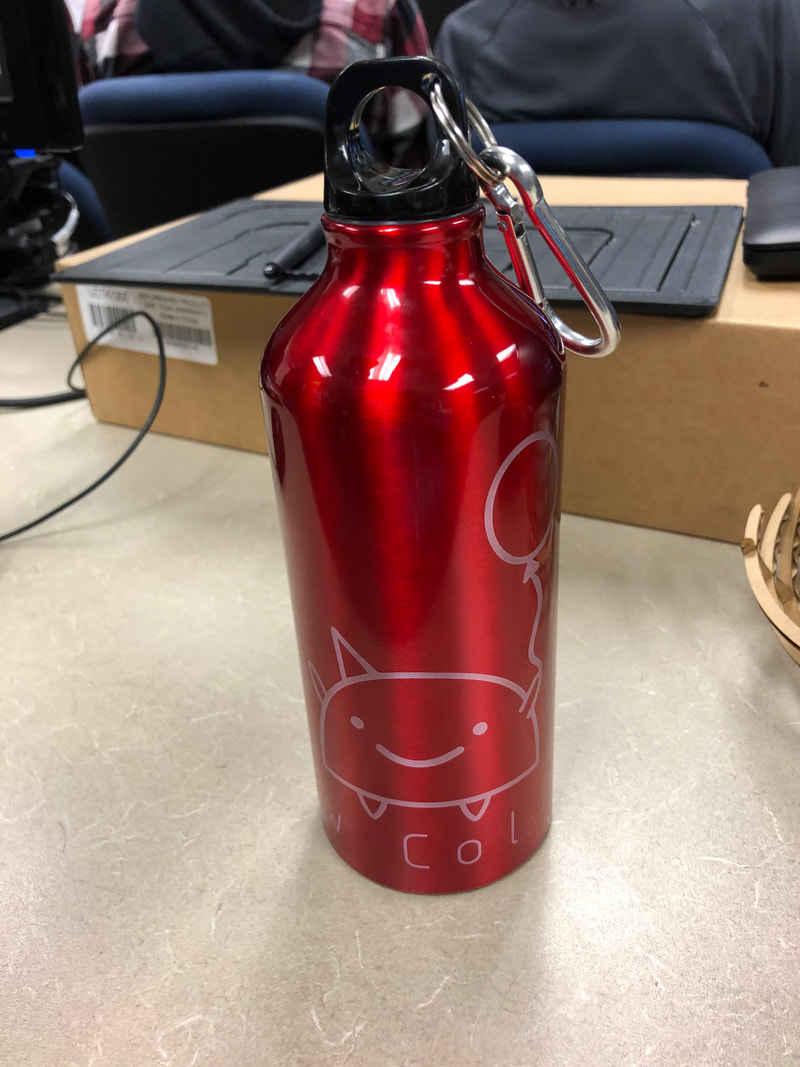
The finished bottle
|
This rotation allows the student to learn more practical applications of Illustrator and of the laser cutter. One is creating 3D objects such as models or functional items like bowls by cutting out and assembling the individual parts. We also learned how to integrate other tools in the creation process with the notebooks, where hole punchers and paper cutters were also used. Finally, the bottle project introduced us to a new way of using the laser cutter with the rotary jig. All in all, the laser rotation allows the students to further their understanding of what they and the laser cutter can do.
