|
Inventor is our class's program of choice for 3D modeling. It allows its users to design 3D elements with professional-level software and a high level of user freedom. The basic process of using the software here is to start with a sketch of one face. After that, it is extruded to be a 3D object. To finish with the other details, we add a sketch of the part being removed or added and extrude it into or out of the rest of the object.
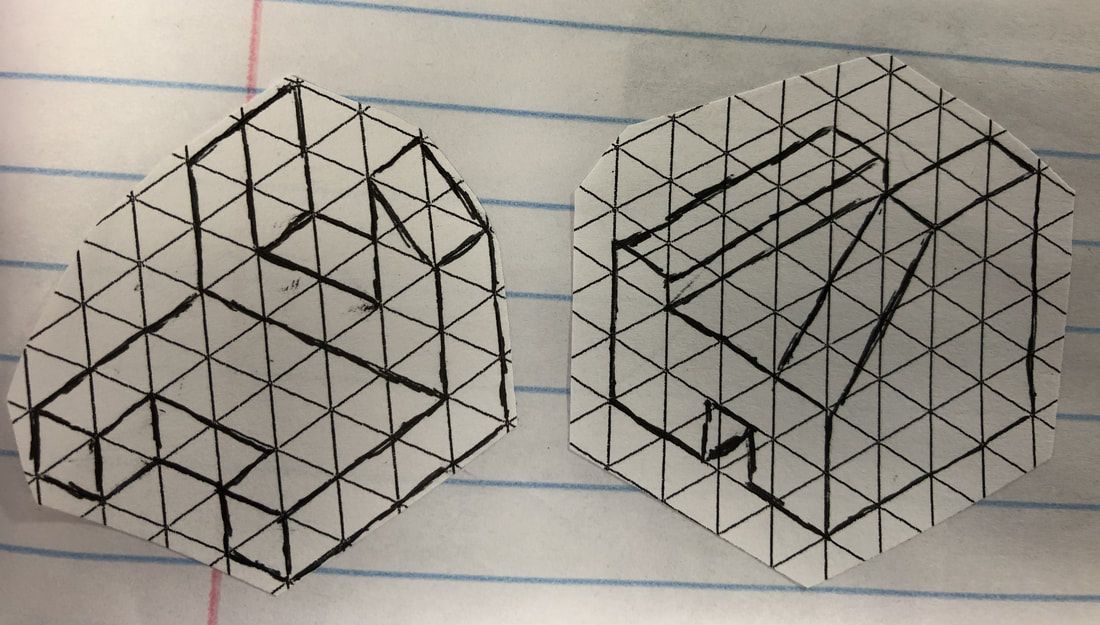
Our instructor had us draw some widgets on graph paper. Then, to introduce the software in class, we recreated them in the program, eventually 3D printing them. On the bottom is the first widget we made in Inventor, with assistance. |
|
|

|
After that, we made five more with varying levels of difficulty.
|
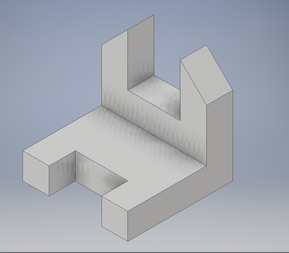
Let's take a closer look at how one of these is made; in this case the rightmost widget.
|
The first step is to make a 2D sketch of one of the widget's faces. Here there's a sort of hexagon shape, and it is fit to the dimensions of the drawing, namely the specific, critical lengths of the sides and the precise angles. There is a tool for doing this specifically.
|

|
|
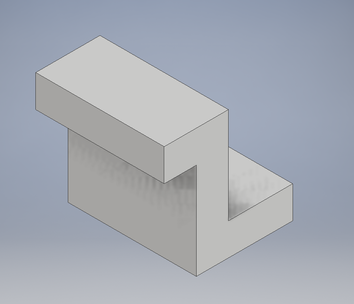
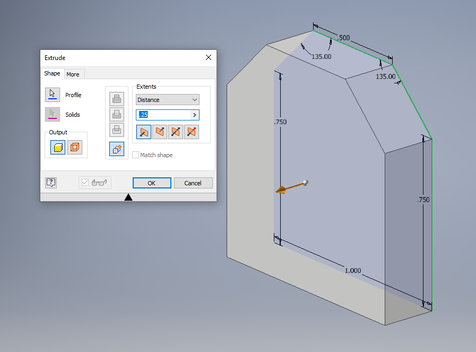
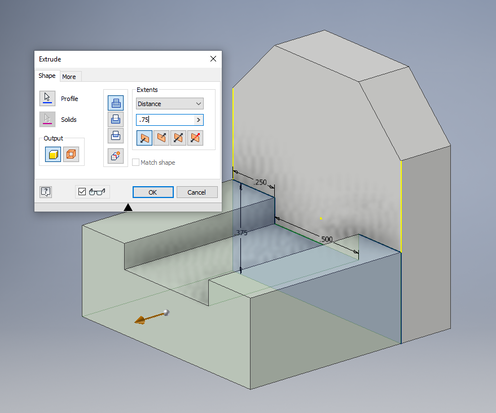
Next is to bring the shape into the third dimension. Using the extrude tool, one can stretch it out until it reaches the desired size; in this case, that's .25 inches, given how the rest of the widget should be.
|
|
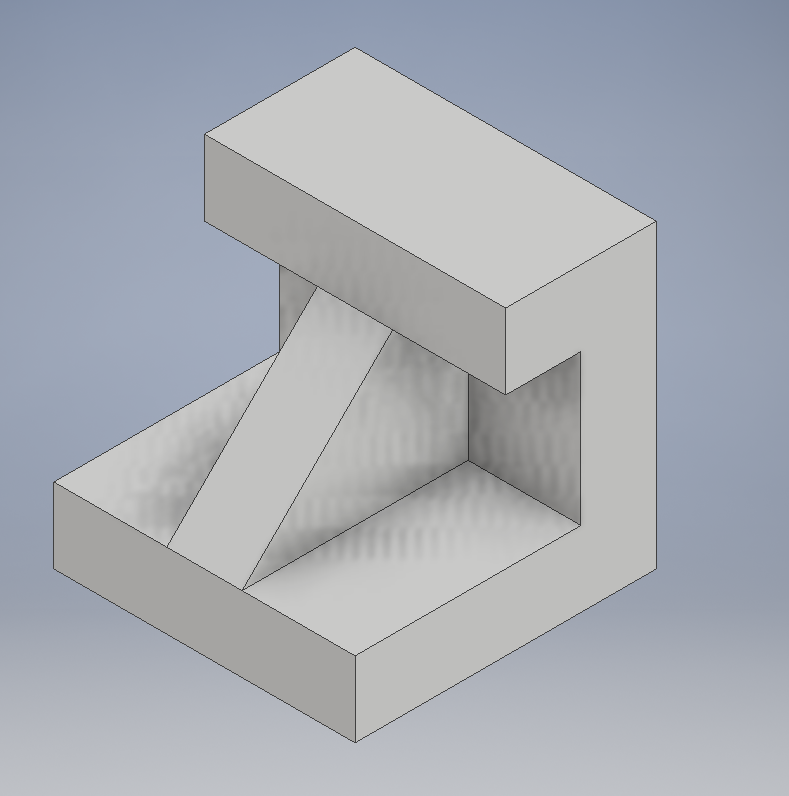
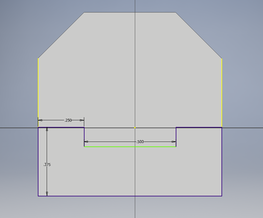
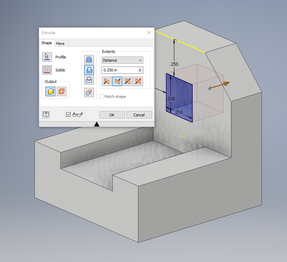
After that, the student has to draw a 2D sketch on one of the faces to mark a section that should extrude further to bring out the shape a bit more. After getting it to the proper shape and size, the extrude tool is used again to add that part of the widget.
|
|

|
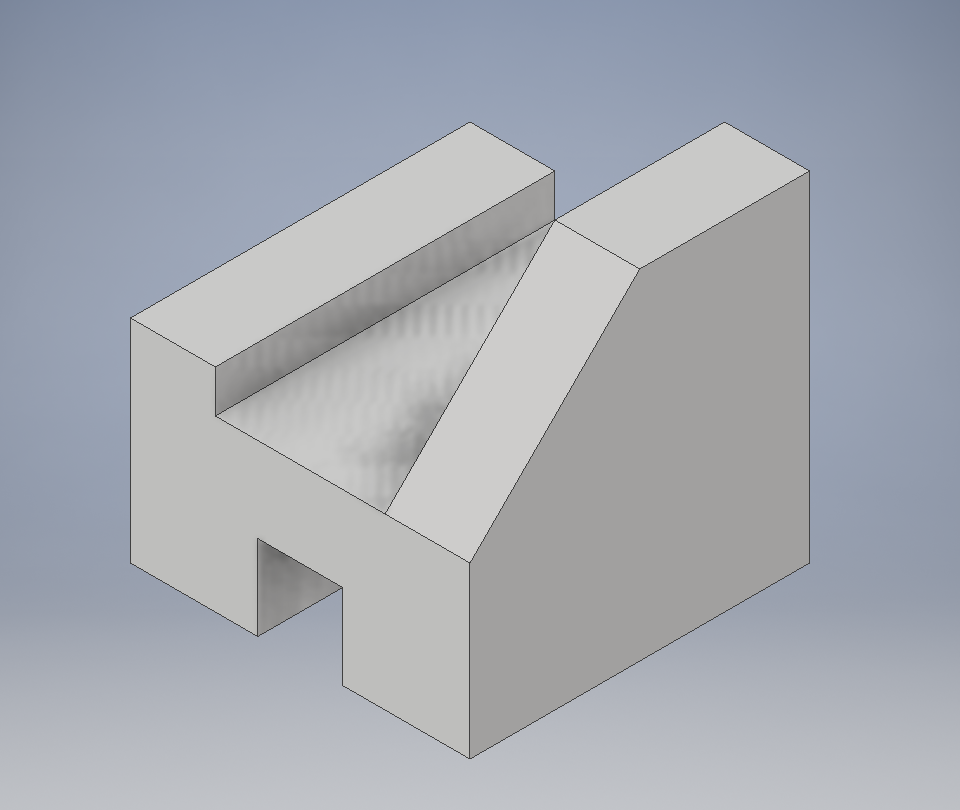
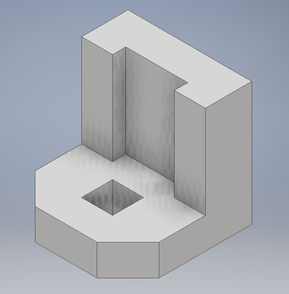
Finally, a hole has to be added. It too is drawn on as a 2D sketch at first, and the extrude tool is again used to create a hole in the widget in a sort of negative extrusion. With that, the widget is finished.
|
The next step is 3D printing our selected widget. In our class, we use MakerBot software and printers.
|
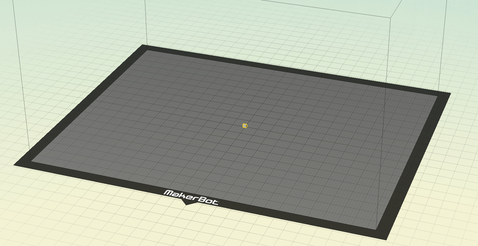
The first step for us is to export the widget's file. After saving as a CAD file, it is opened in MakerBot Desktop.
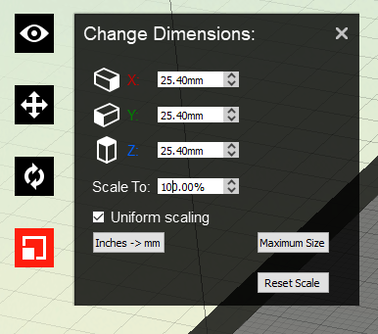
It starts off very small, so it must be scaled to 1000%, resizing the side lengths to 25.4mm, equal to 1 inch. Then, the user should rotate it until it has the least amount of overhang; that is, until there is little to no material directly above air, in this case, none. The user should also click "Lay Flat" to ensure that it isn't floating above the surface. 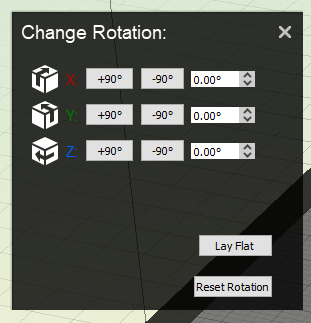
|
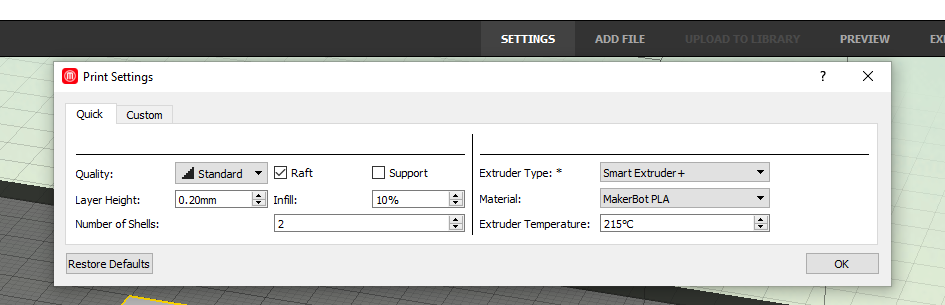
Before printing, one must make sure that the following settings are used; Smart Extruder + is the default for his class, and the temperature should be set to 215°C. A raft should also be used. Everything else is default.
|
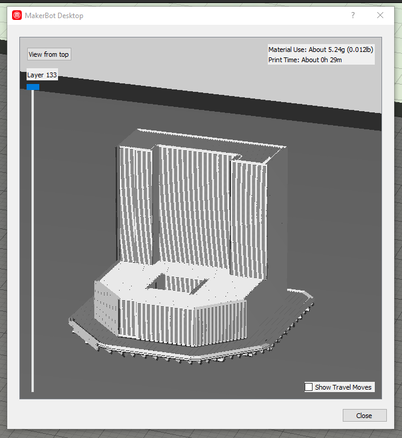
Now, the user is ready to preview the print of the widget. After ensuring that it looks how you want, you should save it onto the flash drive and bring it over to the 3D printer. After plugging the flash drive into the USB port on the printer, select print and let it do so.
|
|
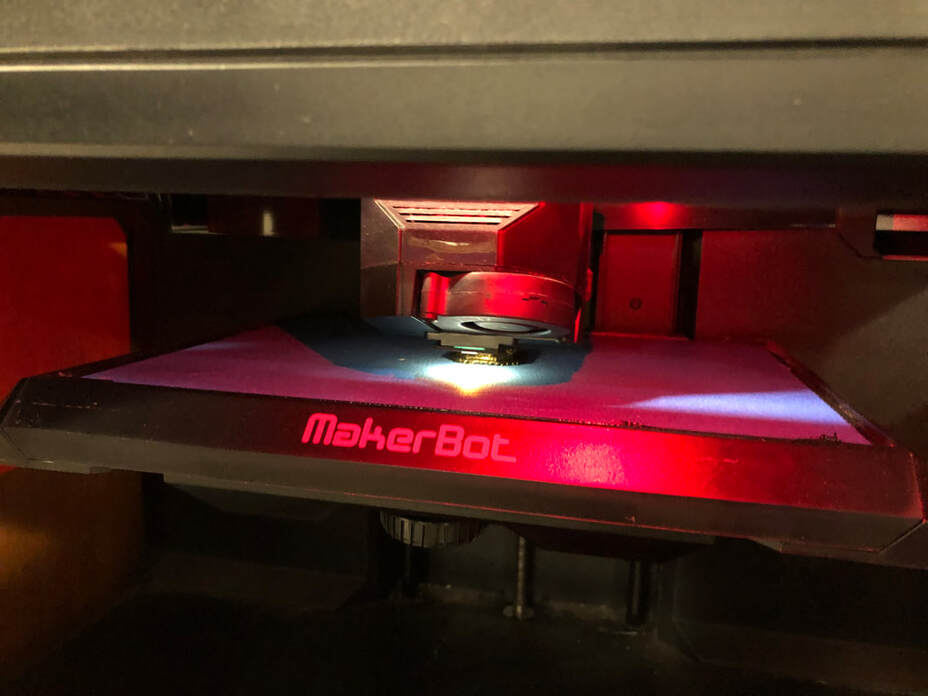
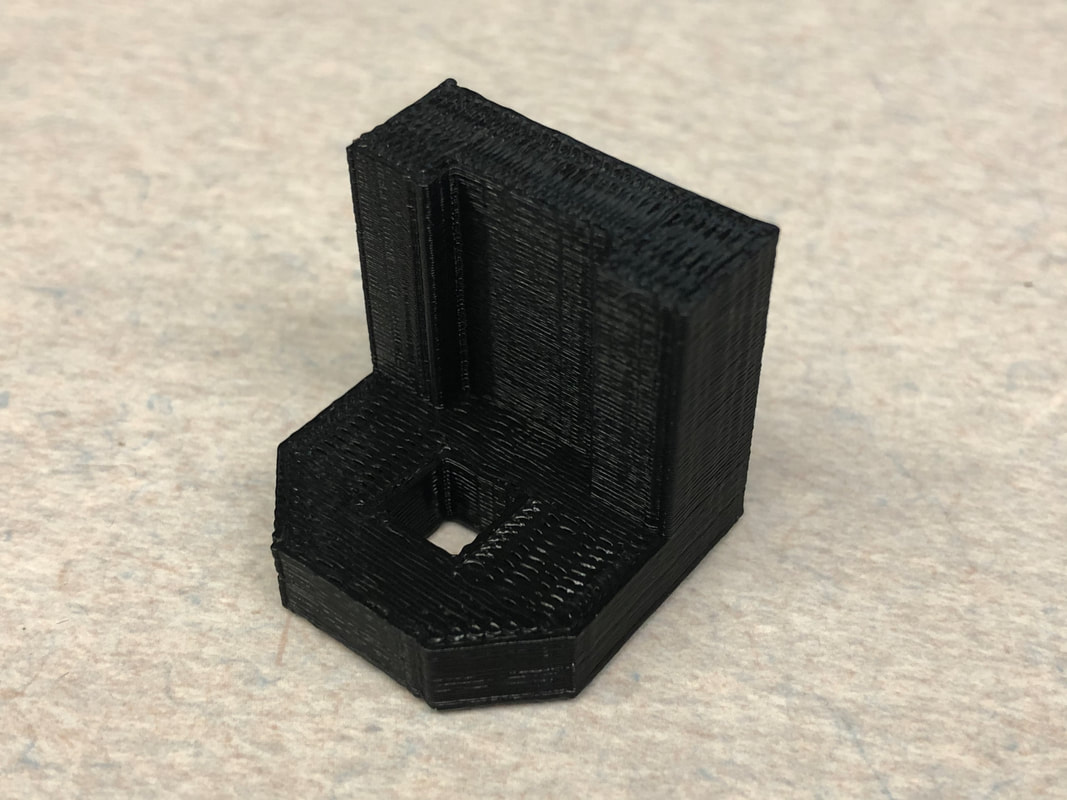
Here is the 3D printer shortly after starting the print and the final product.
|
|
With this introduction to 3D printing, there were a lot of processes that I ended up having to learn. First came the need to analyze an image of a 3D object given and be able to report its dimensions in the form of a drawing. After that, I had to learn to use a program, Autodesk Inventor, in this case, to make a digital version of the object by sketching one of its faces, extruding it, and repeating. Then, I learned to prepare this digital drawing for the MakerBot equipment to print it out. In the end, I accomplished all of this and had a finished product to show for it. From this point forward, using Inventor and 3D printing should be a breeze.
